Who doesn’t like shortcuts? I am yet to find such a person. And I am almost sure that such persons …
Read moreDetailed Explanation Of How To Copy And Paste On Fl Studio In Simple Steps
All About Music
Who doesn’t like shortcuts? I am yet to find such a person. And I am almost sure that such persons …
Read moreDetailed Explanation Of How To Copy And Paste On Fl Studio In Simple Steps
“How to fix FL Studio crackling ” is a common question I have seen on many platforms for a while …
Read moreHow To Fix Fl Studio Crackling (Step-By-Step Guide)
Care to learn how to automate pitch in FL studio? An instrument’s pitch is one of the most frequently used …
Read moreHow To Automate Pitch In Fl Studio Even If You Are A Newbie
Do you want to know how to add drum kits to FL studio? Well, this is quite a straightforward task …
Read moreAnnouncing The Accepted Guide On How To Add Drum Kits To Fl Studio
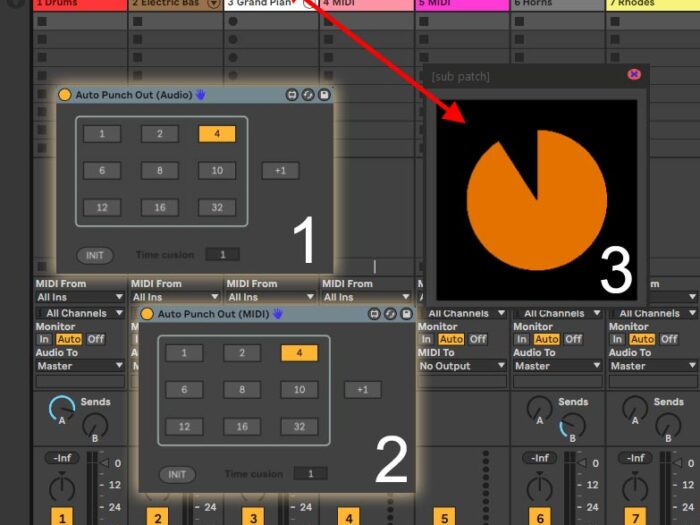
Are you interested in knowing how to loop in Ableton live? Have you tried different techniques all to no avail? …
Read moreHow To Loop In Ableton: Your Go-To Guide For Looping Like A Pro
So you want to learn how to save a pattern in FL Studio? How about how to save a pattern …
Read moreAnnouncing How To Save A Pattern In FL Studio Like The Pros
I know how frustrating it is when you are running your FL Studio program and it keeps crashing intermittently, especially …
Read moreThis Is Why FL Studio Keeps Crashing Intermittently On Your PC
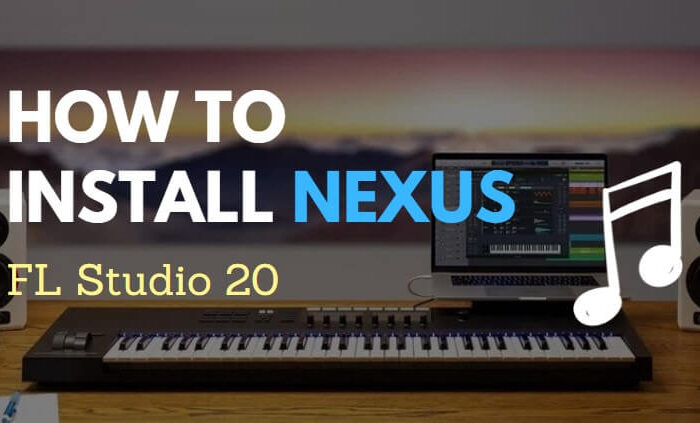
Do you want to learn how to install Nexus in FL Studio?. This article got you covered! Adding Nexus plugin …
Read moreA Beginner’s Guide On How To Install Nexus In Fl Studio
Do you wonder if FL Studio is the most suitable Digital Audio Workstation, and is it worth it? If yes, …
Read moreIs Fl Studio Worth It? A Must Read For Budding Music Producers
Do you fancy using FL Studio as your preferred DAW? Then, this is one question you would need an answer …
Read moreIs Fl Studio Safe? Is It A Worthy Piece Of Software?